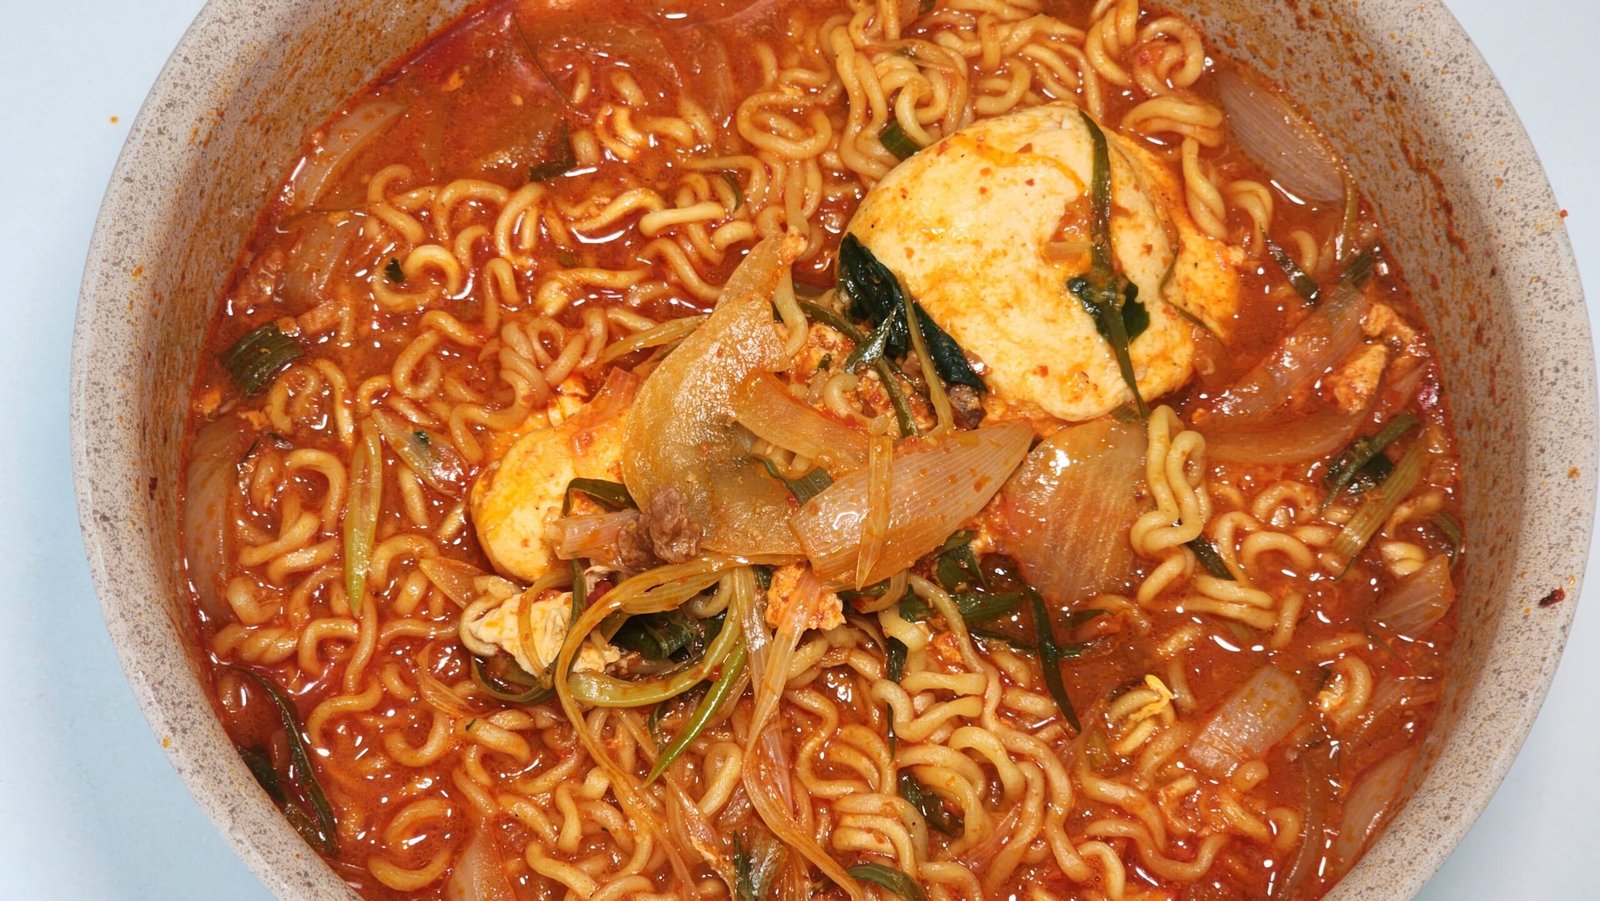
10-Minute Spicy Scallion Shin Ramyun
This spicy scallion Shin Ramyun recipe became popular in Korea after it was featured on a cooking variety show. Its spicy broth, balanced by the natural sweetness of scallion and onion, also made it known as a meal for the morning after drinking.
I often make it at home the day after drinking, too. Stir-frying gochugaru, garlic, scallion, and onion in oil before adding the broth gives it a richer flavor than regular Shin Ramyun. The spicy broth reminds me of jjamppong from a Korean-Chinese restaurant—that’s what I like about this recipe.
It takes just 10 minutes and uses only one pot, so there’s less washing up afterward. Give it a try when you want something a little different from your usual Shin Ramyun or crave a rich, spicy broth.
Quick Overview
- Prep Time: 3 mins
- Cook Time: 7 mins
- Servings: 2 servings
- Difficulty: Easy
Ingredients & Substitutions
- 2 packages Shin Ramyun
- 1 scallion
- 1 onion
- 4 tbsp olive oil
- 1 tbsp minced garlic (Substitute: 2 garlic cloves, thinly sliced)
- 2 tbsp gochugaru (Korean red pepper flakes)
- 2 eggs
- 800ml water
Step-by-Step Cooking Guide
Step 1. Prep the vegetables
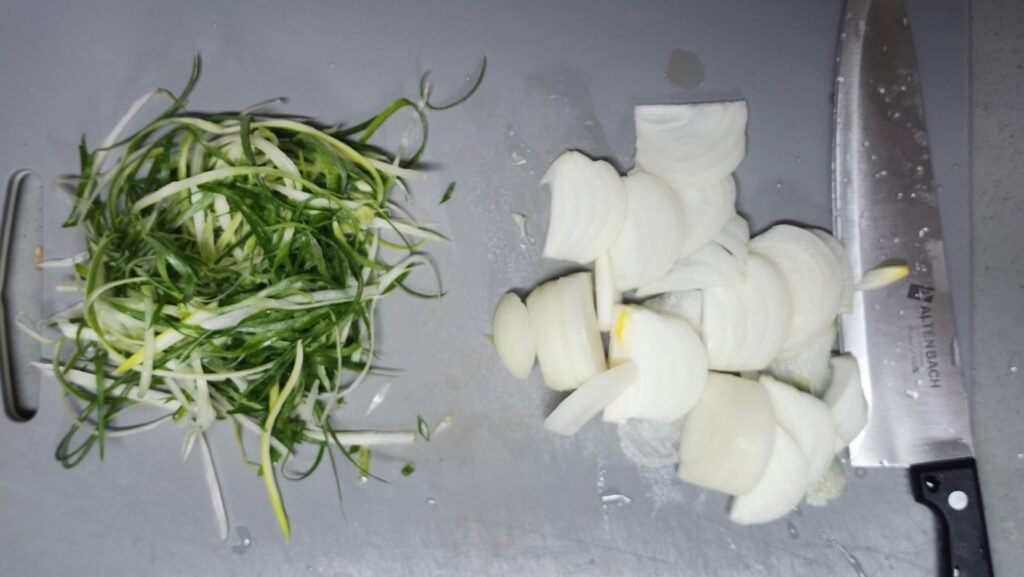
- Thinly slice the 1 scallion and 1 onion.
- Tip: Need an easy way to slice scallion without a special tool? Check out my Fork Trick for scallion Strips.
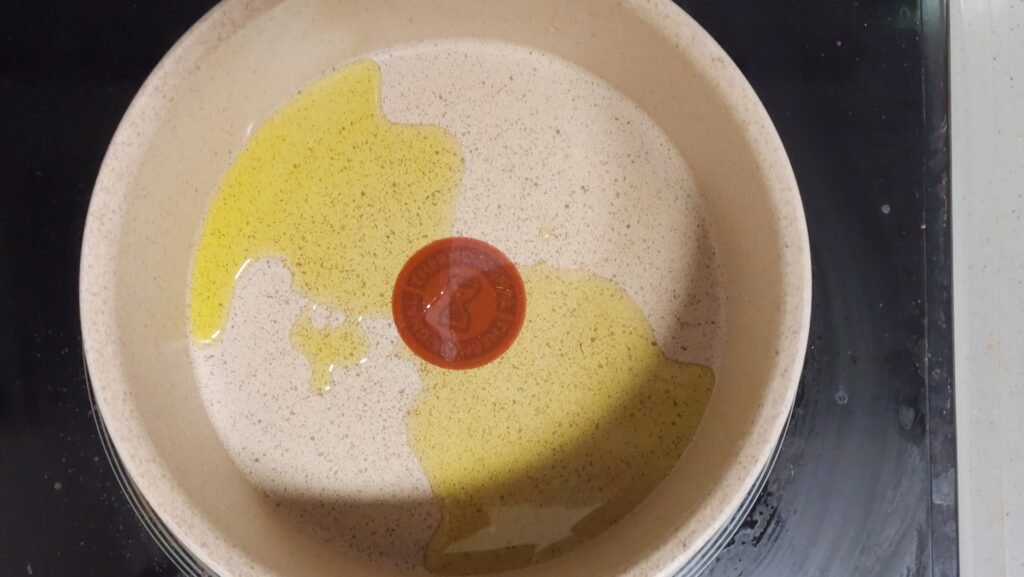
Step 2. Heat the olive oil
- Add the 4 tbsp olive oil to a pot and heat for about 1 minute.
Step 3. Cook the garlic and vegetables
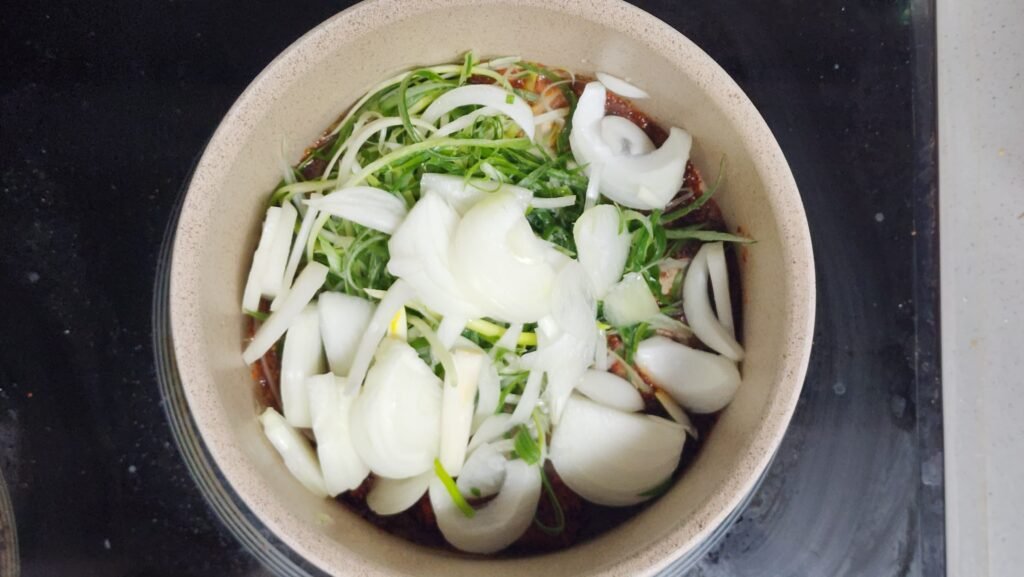
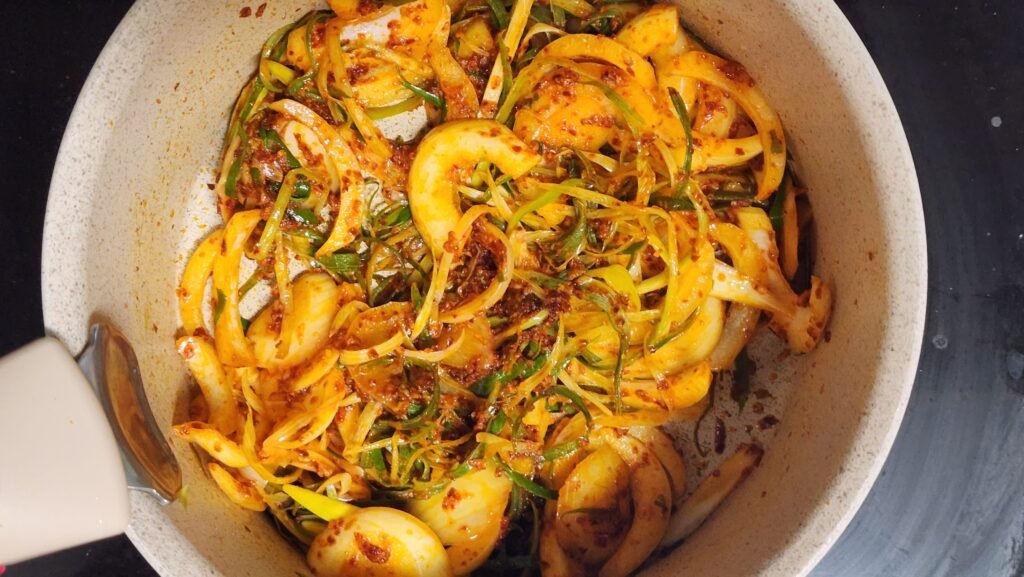
- Add the minced garlic (or sliced garlic), gochugaru, scallion, and onion to the heated oil. Stir-fry for about 2 minutes.
- Tip: Stir-fry briefly over high heat to avoid burning the gochugaru.
Step 4. Add the water and seasoning
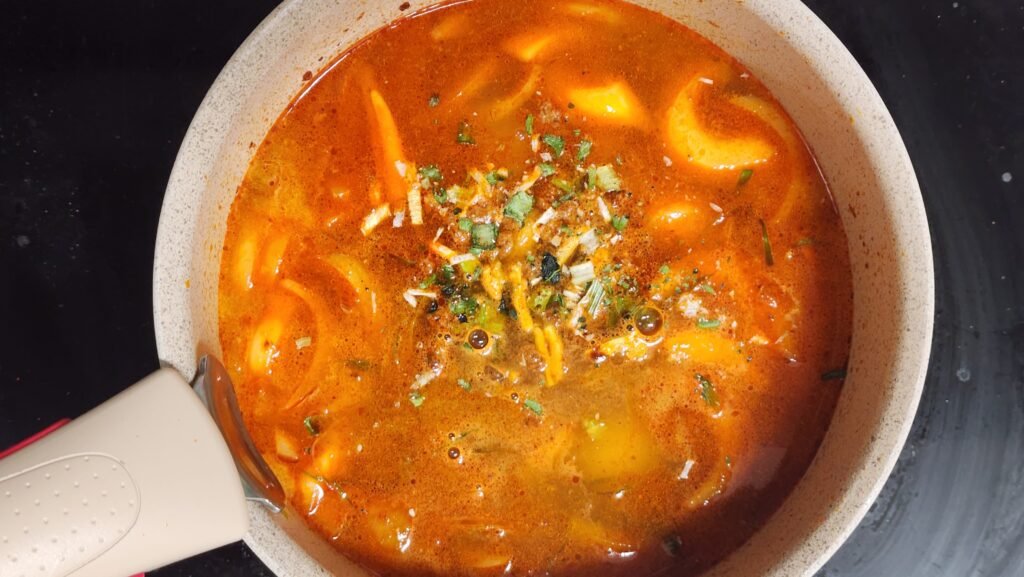
- Pour in 800ml of water and add the Shin Ramyun seasoning packets. Crack in 2 eggs without stirring them into the broth. Bring to a boil.
- Tip: If you prefer a saltier broth, use about 750ml of water instead of 800ml.
- Tip: Leave the eggs intact to keep the broth’s bold, spicy flavor.
Step 5. Cook the noodles
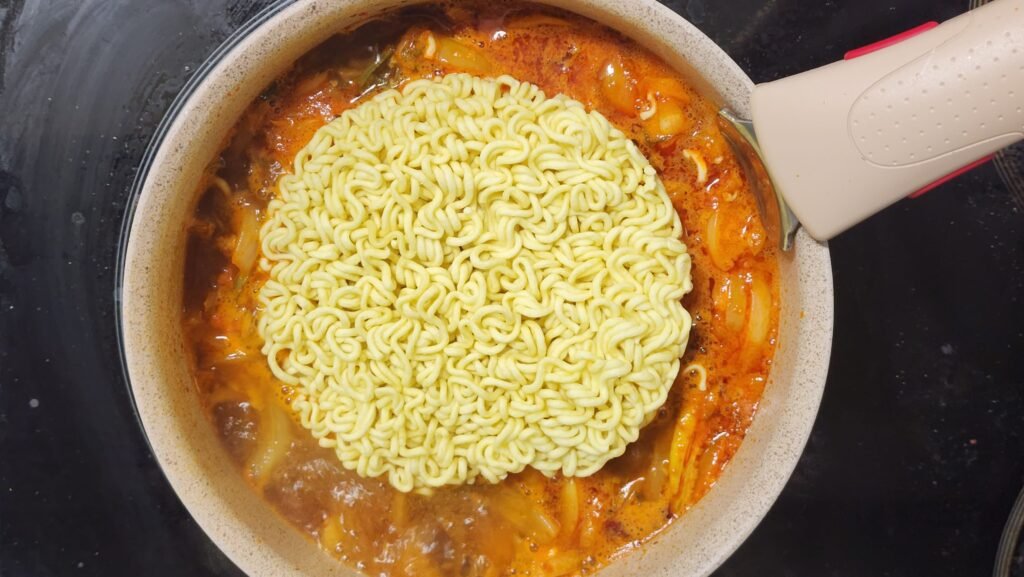
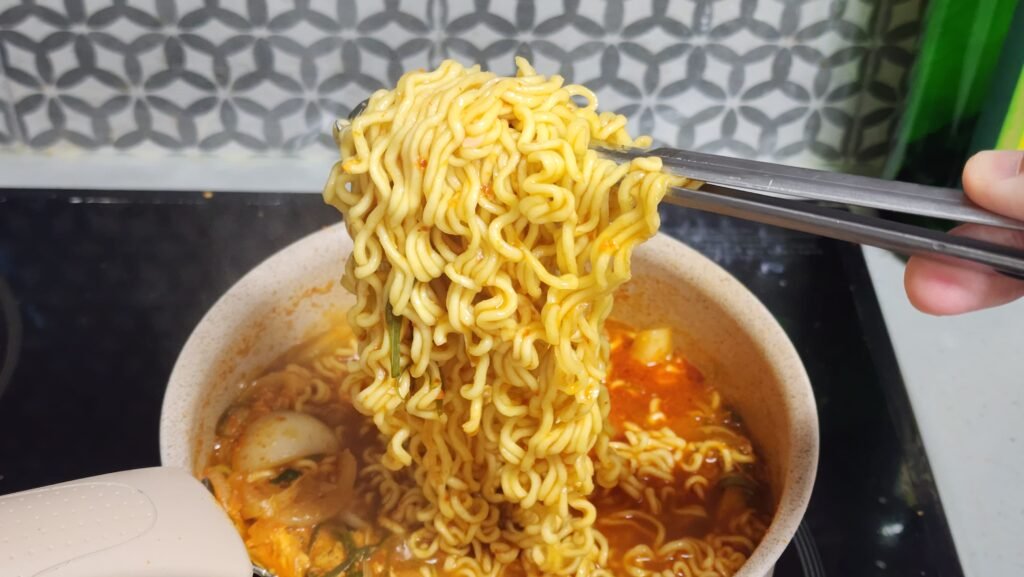
Once the water boils, add the noodles and cook for about 3 minutes and 30 seconds.
- Tip: While cooking, lift the noodles out of the broth with tongs to expose them to the air for a chewier texture.
Step 6. Serve
Turn off the heat and transfer to bowls.
Print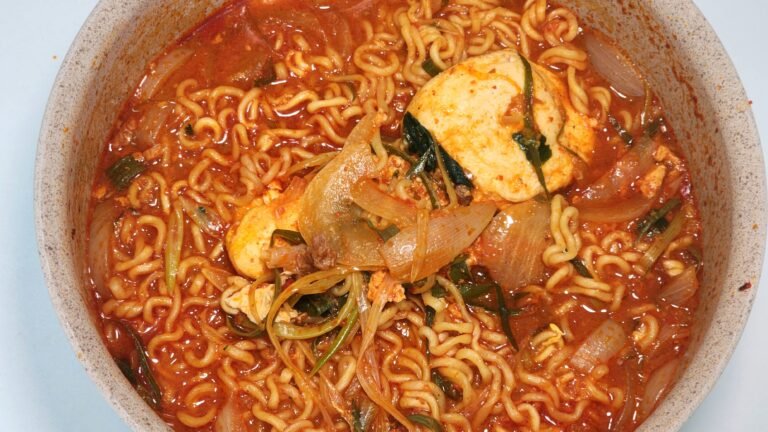
10-Minute Spicy Scallion Shin Ramyun
Make Shin Ramyun with scallions, onion, garlic, and gochugaru for a rich, jjamppong-style broth. Ready in 10 minutes using one pot.
- Total Time: 10
- Yield: 2 servings
Ingredients
- 2 packages Shin Ramyun
- 1 scallion
- 1 onion
- 4 tbsp olive oil
- 1 tbsp minced garlic (or 2 garlic cloves, thinly sliced)
- 2 tbsp gochugaru (Korean red pepper flakes)
- 2 eggs
- 800ml water
Instructions
- Thinly slice the scallion and onion.
- Add the olive oil to a pot and heat for about 1 minute.
- Add the minced garlic (or sliced garlic), gochugaru, scallion, and onion. Stir-fry for about 2 minutes.
- Pour in 800ml of water and add the Shin Ramyun seasoning packets. Crack in 2 eggs without stirring them into the broth. Bring to a boil.
- Add the noodles and cook for about 3 minutes and 30 seconds.
- Turn off the heat and transfer to bowls.
Notes
- Need an easy way to slice scallion without a special tool? Check out my Fork Trick for scallion Strips.
- Stir-fry briefly over high heat to avoid burning the gochugaru.
- If you prefer a saltier broth, use about 750ml of water instead of 800ml.
- Leave the eggs intact to keep the broth’s bold, spicy flavor.
- While the noodles cook, you can lift them out of the broth with tongs, then lower them back in.
- Prep Time: 3
- Cook Time: 7
- Category: Breakfast, Dinner, Lunch
- Method: Boiling
- Cuisine: korean